vSeeBox Setup Guide: From Unboxing to Streaming in About 10 Minutes
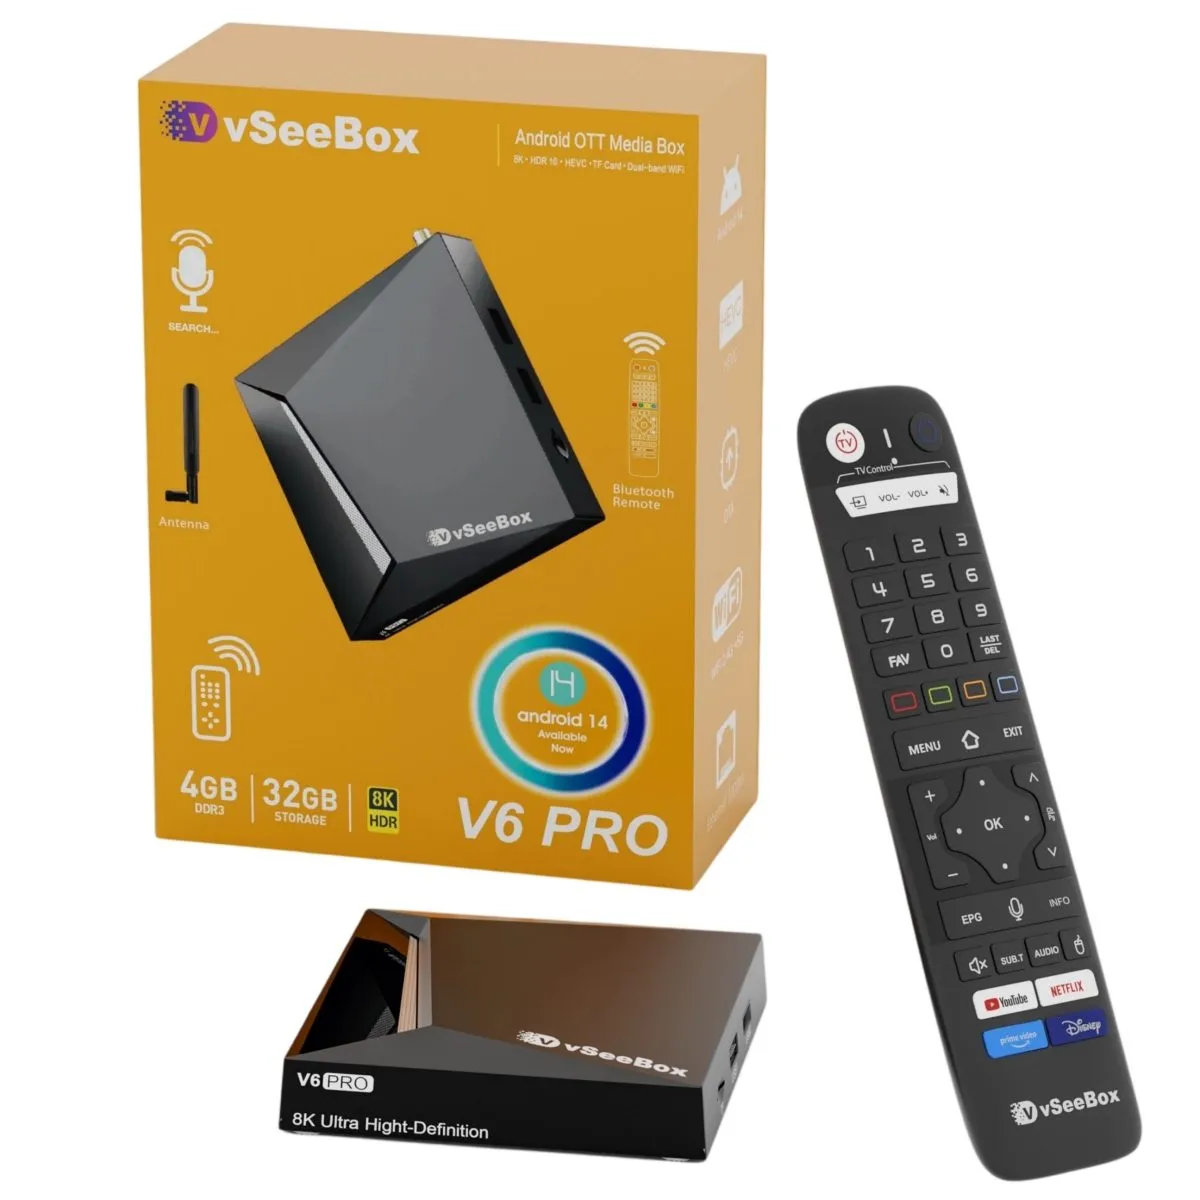
Setting up a vSeeBox V6 is genuinely quick — most customers are watching something within ten minutes. This guide walks through it in order, then covers the handful of settings worth changing before you start streaming.
Step 1 — Connect the box to your TV
Use the included HDMI 2.0 cable and plug it into an HDMI port on your TV that supports 4K HDR (on many TVs only some ports do — check the port labels). Connect the power supply, then switch your TV to that HDMI input.
Step 2 — Pair the Bluetooth remote
The V6 remotes are Bluetooth, not line-of-sight infrared. On first boot the box prompts you to pair: hold the pairing combination shown on screen until the remote's LED confirms. Once paired, the remote works without pointing it at the box — handy if you keep the V6 in a cabinet.
Step 3 — Get it online
- Ethernet (recommended for the V6 Plus and V6 Pro, which have gigabit ports) — plug in and you are done
- WiFi 6 — choose your 5GHz network for best throughput; all three models are dual-band
- On the V6 Pro, attach the external antenna before joining WiFi for stronger reception
Step 4 — Sign in and update
Sign in to your Google account to enable the Play Store and Google Assistant voice search, then let Android 14 finish any pending OTA update before you install apps. Updates are automatic, but running the first one immediately avoids interruptions later.
Add your own accounts for any third-party apps you use. The box is hardware only, so subscriptions stay with the providers you already pay.
Step 5 — Settings worth changing right away
- Set display resolution and refresh rate to match your TV (4K@60Hz for most, higher on 8K panels)
- Enable HDR / HDR10 output if your TV supports it
- Turn on Dolby / passthrough audio if you use a soundbar or AV receiver
- Format a USB drive for extra storage — the USB ports accept up to 2TB
- On the V6 Plus, try split screen once so you know where the shortcut lives
If something does not work
- No picture: try a different HDMI port and confirm the TV input
- Remote unresponsive: re-run Bluetooth pairing from Settings
- Buffering: switch to the 5GHz band, or use Ethernet
- Still stuck: call our support line seven days a week — we set these up daily
Frequently asked questions
- How long does vSeeBox setup take?
- About ten minutes: HDMI and power, remote pairing, network, sign-in, and the first OTA update.
- Do I need Ethernet or is WiFi enough?
- WiFi 6 handles 4K comfortably on all three models. Ethernet is more consistent for high-bitrate streams, and the V6 Plus and V6 Pro have gigabit ports.
- Does the vSeeBox remote need line of sight?
- No. The V6 remotes are Bluetooth, so the box can sit inside a cabinet.